Building a 3D Shelf Constructor with Three.js and Blender
This article details my process of creating an interactive 3D shelf customizer using Three.js, React, and Blender. The project allows users to customize dimensions, divisions, and colors of a shelf in real-time directly in the browser.
Modeling the Scene in Blender
The first step of this project was to create the environment where the shelf would be displayed. I used Blender to model a simple but effective scene consisting of:
- A horizontal plane that functions as the floor
- A vertical plane that acts as a background wall
- Appropriate lighting to cast realistic shadows
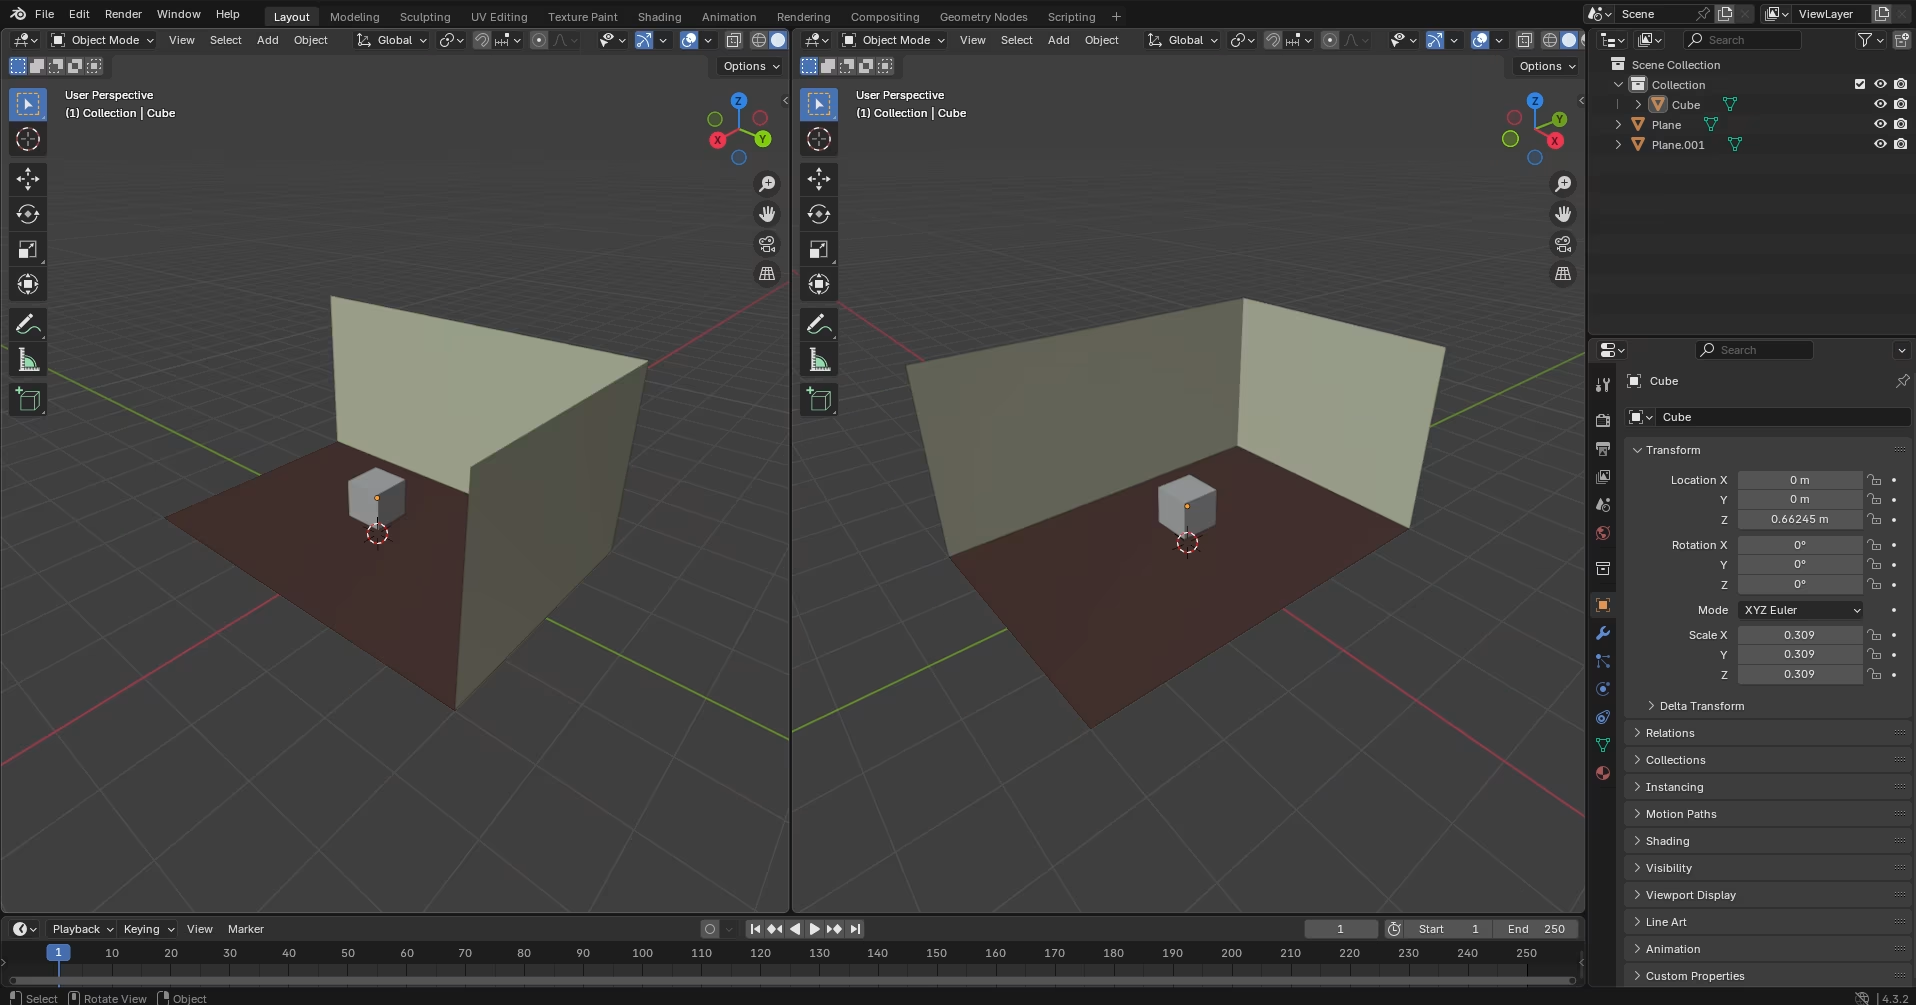
The modeling in Blender was intentionally minimalist to keep the focus on the customizable shelf. After creating the base model, I exported it as a GLB file, which is a web-optimized format that contains both the geometry and materials of the model.
When creating 3D models for the web, it's crucial to maintain a low polygon count. A good practice is not to exceed 100,000 polygons for the entire scene in real-time applications.
Converting GLB File to JSX
To convert a GLB file into a JSX file, you can use the @react-three/drei library, which provides a useGLTF hook to load GLB files. Here are the steps to achieve this:
-
Install the necessary dependencies:
Make sure you have @react-three/fiber and @react-three/drei installed in your project. You can install them using npm or yarn:
npm install @react-three/fiber @react-three/drei
yarn add @react-three/fiber @react-three/drei
-
Load the GLB file:
Use the useGLTF hook from @react-three/drei to load the GLB file. This hook returns the nodes and materials of the model, which you can use to create a JSX component.
-
Use gltfjsx to automatically generate a JSX component:
You can use the gltfjsx CLI tool to automatically convert a GLB file into a React component. Run the following command:
npx gltfjsx ./src/scenario.glb
This command processes your GLB file and generates a JSX component with all the meshes, materials, and animations properly set up. Some useful options include:
--transform: Apply transforms from the original file--types: Generate TypeScript definitions--shadows: Add shadow support automatically--precision=n: Number of decimal places (default is 2)
-
Create a JSX component:
Create a new component that uses the loaded GLB model. You can configure the materials, geometry, and other properties as needed.
Here is an example of how to convert a GLB file into a JSX component:
export function Scenario(props) {
const { nodes, materials } = useGLTF(`${basePath}models/scenario.glb`);
return (
<group {...props} dispose={null}>
<mesh
geometry={nodes.Plane.geometry}
scale={[2, 1, 3]}
receiveShadow={props.receiveShadow}
>
<meshStandardMaterial {...floorTextureProps} />
</mesh>
<mesh
geometry={nodes.Plane001.geometry}
material={materials["Material.002"]}
position={[-2, 1.5, 0]}
rotation={[-Math.PI, 0, Math.PI / 2]}
scale={[1.5, 1, 3]}
receiveShadow={props.receiveShadow}
/>
</group>
);
}
If you're creating your own project with 3D models, the gltfjsx tool is extremely useful for converting GLB files to React components. This greatly facilitates integration with React Three Fiber and allows more intuitive manipulation of models.
Dynamic Rendering with React Three Fiber
React Three Fiber is a library that allows using Three.js declaratively within React. For this project, I implemented a dynamic rendering system that:
- Only loads and renders the 3D scene when it's visible in the viewport
- Displays a static image when not active, improving performance
- Offers intuitive camera controls to examine the shelf
The most interesting part was the implementation of the Experience component, which manages the complete 3D scene:
export const Experience = () => {
const controlsRef = useRef(null);
const { camera } = useThree();
const minDistance = 1.5;
const maxDistance = 5;
useEffect(() => {
if (!controlsRef.current) return;
camera.position.setLength(
Math.max(minDistance, Math.min(camera.position.length(), maxDistance))
);
}, [camera]);
return (
<>
<color attach="background" args={["#121212"]} />
<ambientLight intensity={0.5} />
{/* Lights configuration */}
<Shelf />
<Scenario
receiveShadow
scale={[1, 1, 1]}
position={[1.5, 0, 1]}
rotation={[0, Math.PI / 10, 0]}
/>
<OrbitControls
ref={controlsRef}
minDistance={minDistance}
maxDistance={maxDistance}
enableZoom={true}
enablePan={true}
enableRotate={true}
maxPolarAngle={Math.PI / 3}
minPolarAngle={0}
minAzimuthAngle={Math.PI / 6}
maxAzimuthAngle={Math.PI / 1.5}
/>
</>
);
};
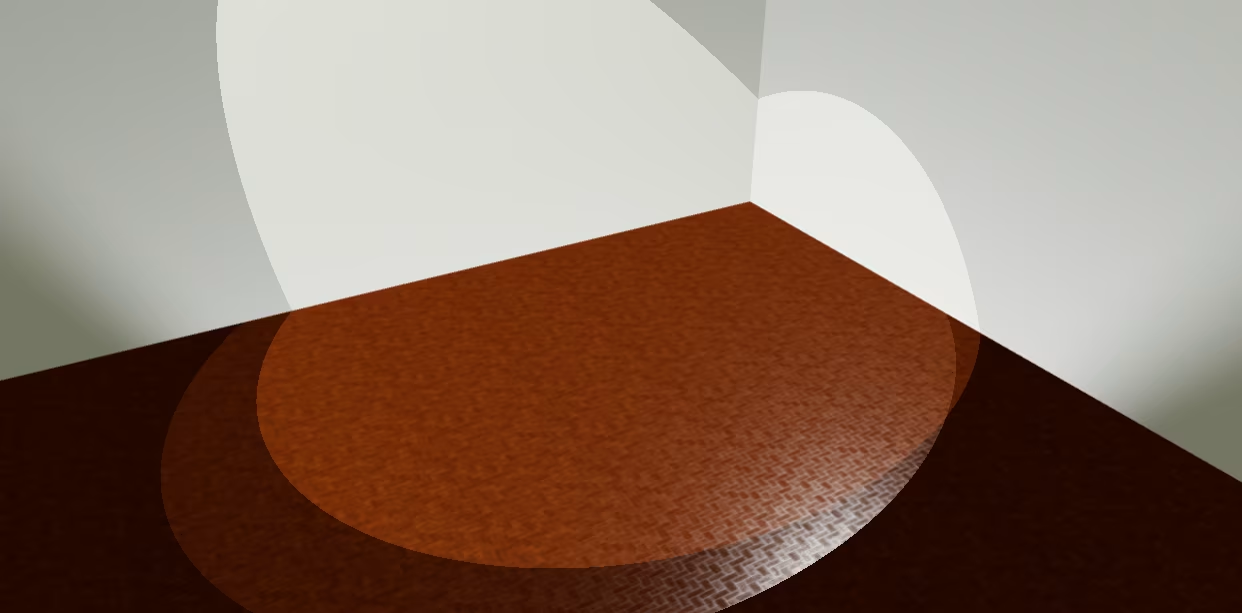
To improve performance on mobile devices, the component only renders the 3D scene when it's visible in the viewport. When not active, a static image is displayed, which significantly reduces resource consumption.
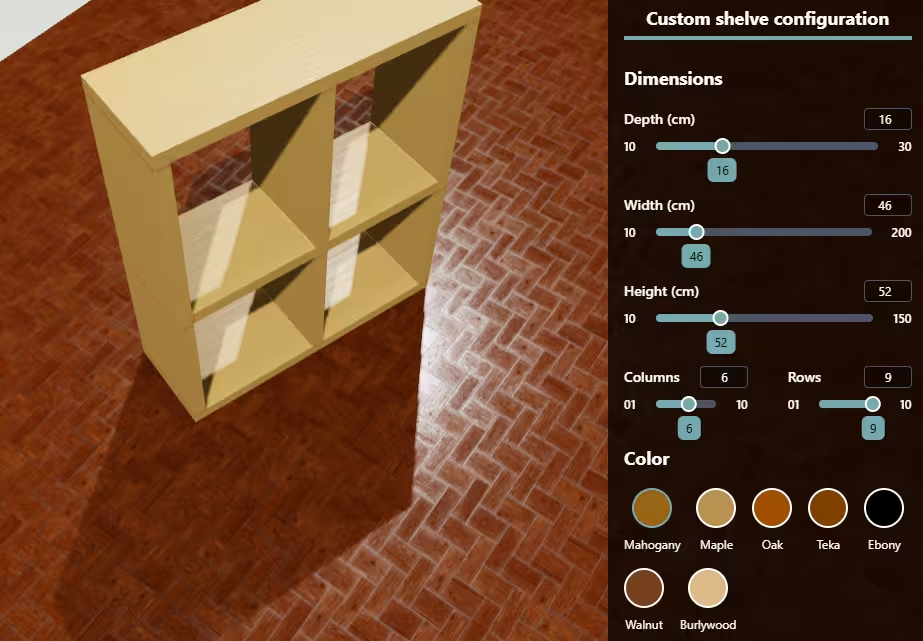
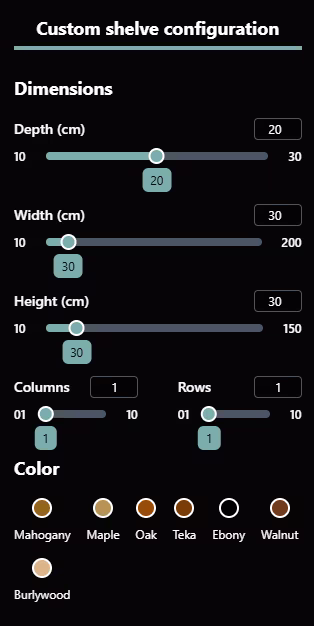
Dynamic Model Properties Iteration
The heart of the project is the ability to modify the shelf properties in real-time. I implemented a state system based on React Context to manage these properties:
- Dimensions (width, height, depth)
- Number of columns and rows
- Material color
The Shelf component is responsible for rendering the different parts of the shelf based on these parameters:
export const Shelf = () => {
const { props } = useShelfProps();
const width = props.width / 100;
const height = props.height / 100;
const depth = props.depth / 100;
const color = props.color;
const columns = props.columns;
const rows = props.rows;
const adjustedColumns = Math.floor(width / minSectionWidth);
const adjustedRows = Math.floor(height / minSectionHeight) - 1;
return (
<group>
{/* Shelf base */}
<Table
position={[0, 0 + offset, 0]}
size={[depth, tableSize, width]}
color={color}
/>
{/* Top part */}
<Table
position={[0, height + tableSize, 0]}
size={[depth, tableSize, width]}
color={color}
/>
{/* Side panels */}
<Table
position={[0, height / 2 + tableSize, -width / 2 + offset]}
size={[depth, height, tableSize]}
color={color}
/>
<Table
position={[0, height / 2 + tableSize, width / 2 - offset]}
size={[depth, height, tableSize]}
color={color}
/>
{/* Dynamic generation of vertical divisions */}
{Array.from({ length: Math.min(columns - 1, adjustedColumns - 1) }).map(
(_, i) => {
const posZ =
-width / 2 + (width / Math.min(columns, adjustedColumns)) * (i + 1);
return (
<Table
key={`column-divider-${i}`}
position={[0, height / 2 + tableSize, posZ]}
size={[depth, height, tableSize]}
color={color}
/>
);
}
)}
{/* Dynamic generation of horizontal shelfs */}
{Array.from({ length: Math.min(rows, adjustedRows) }).map((_, i) => {
const effectiveRows = Math.min(rows, adjustedRows);
const tablesThickness = (effectiveRows + 2) * tableSize;
const availableHeight = height - tablesThickness;
const gap = availableHeight / (effectiveRows + 1);
const posY = tableSize + gap * (i + 1) + tableSize * i;
return (
<Table
key={`row-shelf-${i}`}
position={[0, posY, 0]}
size={[depth, tableSize, width]}
color={color}
/>
);
})}
</group>
);
};
Although the model allows extensive customization, there are physical limits to consider. If you reduce dimensions too much or add too many divisions, the shelf might look unrealistic or unstable in a real environment.
Custom Texture Application
To add realism to the scene, I implemented a system of procedural textures for both the environment and the shelf. I used resources from sites like Texture Ninja and 3D Textures to obtain high-quality texture maps.
The Table component handles the application of textures on each element of the shelf:
export const Table = ({
size = [0.2, 0.02, 0.3],
color = "#f7f7f2",
...props
}) => {
const textureProps = useTexture({
aoMap: `${basePath}assets/textures/plank_ao.jpg`,
normalMap: `${basePath}assets/textures/plank_normal.jpg`,
roughnessMap: `${basePath}assets/textures/plank_roughness.jpg`,
});
textureProps.aoMap.repeat.set(textureRepeat, textureRepeat);
textureProps.normalMap.repeat.set(textureRepeat, textureRepeat);
textureProps.roughnessMap.repeat.set(textureRepeat, textureRepeat);
textureProps.aoMap.wrapS = textureProps.aoMap.wrapT = THREE.RepeatWrapping;
textureProps.normalMap.wrapS = textureProps.normalMap.wrapT =
THREE.RepeatWrapping;
textureProps.roughnessMap.wrapS = textureProps.roughnessMap.wrapT =
THREE.RepeatWrapping;
return (
<mesh {...props} receiveShadow castShadow>
<boxGeometry args={size} />
<meshStandardMaterial {...textureProps} color={color} map={null} />
</mesh>
);
};
For the environment, I applied a more complete set of texture maps to create a realistic floor:
const floorTextureProps = useTexture({
  map: `${basePath}assets/textures/floor_BaseColor.jpg`,
  normalMap: `${basePath}assets/textures/floor_Normal.jpg`,
  aoMap: `${basePath}assets/textures/floor_ao.jpg`,
  roughnessMap: `${basePath}assets/textures/floor_Roughness.jpg`,
  heightMap: `${basePath}assets/textures/floor_height.jpg`,
});
The textures used in this project are procedural and applied in real-time. This allows changing the shelf color without needing to load new textures, which significantly improves performance.
Conclusion
This project allowed me to explore the integration between Blender and Three.js to create an interactive web application with customizable 3D models. The main challenges included managing real-time performance and creating an intuitive user interface to manipulate the model properties.
To try out the shelf constructor, simply interact with the controls on the right side of the canvas and watch how the model updates in real-time.
On mobile devices, camera controls may be less intuitive than on desktop. It's recommended to use two fingers to zoom and rotate the view for a better experience.
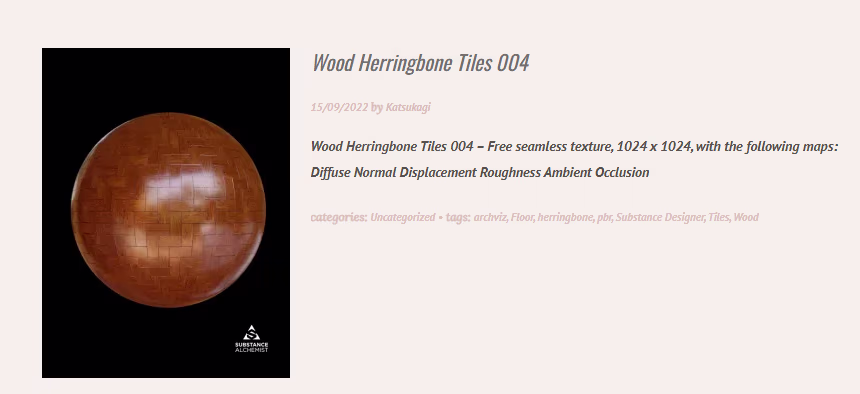
Special thanks to Katsukagi for making the textures available for free. Here is his Patreon link: Katsukagi if you would like to support him.


